- What Is Progressive Profiling?
- Top 7 Benefits of Progressive Profiling
- How To Create a Progressive Profiling Strategy That Works
- How To Implement Progressive User Profiling for Your Site
- 3 Progressive Profiling Best Practices To Keep in Mind
What Is Progressive Profiling?
Progressive profiling is a method of collecting relevant information about your leads in small bits rather than asking for too much data all at once.
Using this method, you might ask for just an email and the first name on the initial sign-up, then strategically request more data at intervals throughout a buyer’s journey.
This is great for lead generation because asking for smaller pieces of information at a time boosts conversions!
According to research by HubSpot, reducing the number of form fields from a landing page improves its conversion rate.
Here’s what a form without progressive profiling looks like:
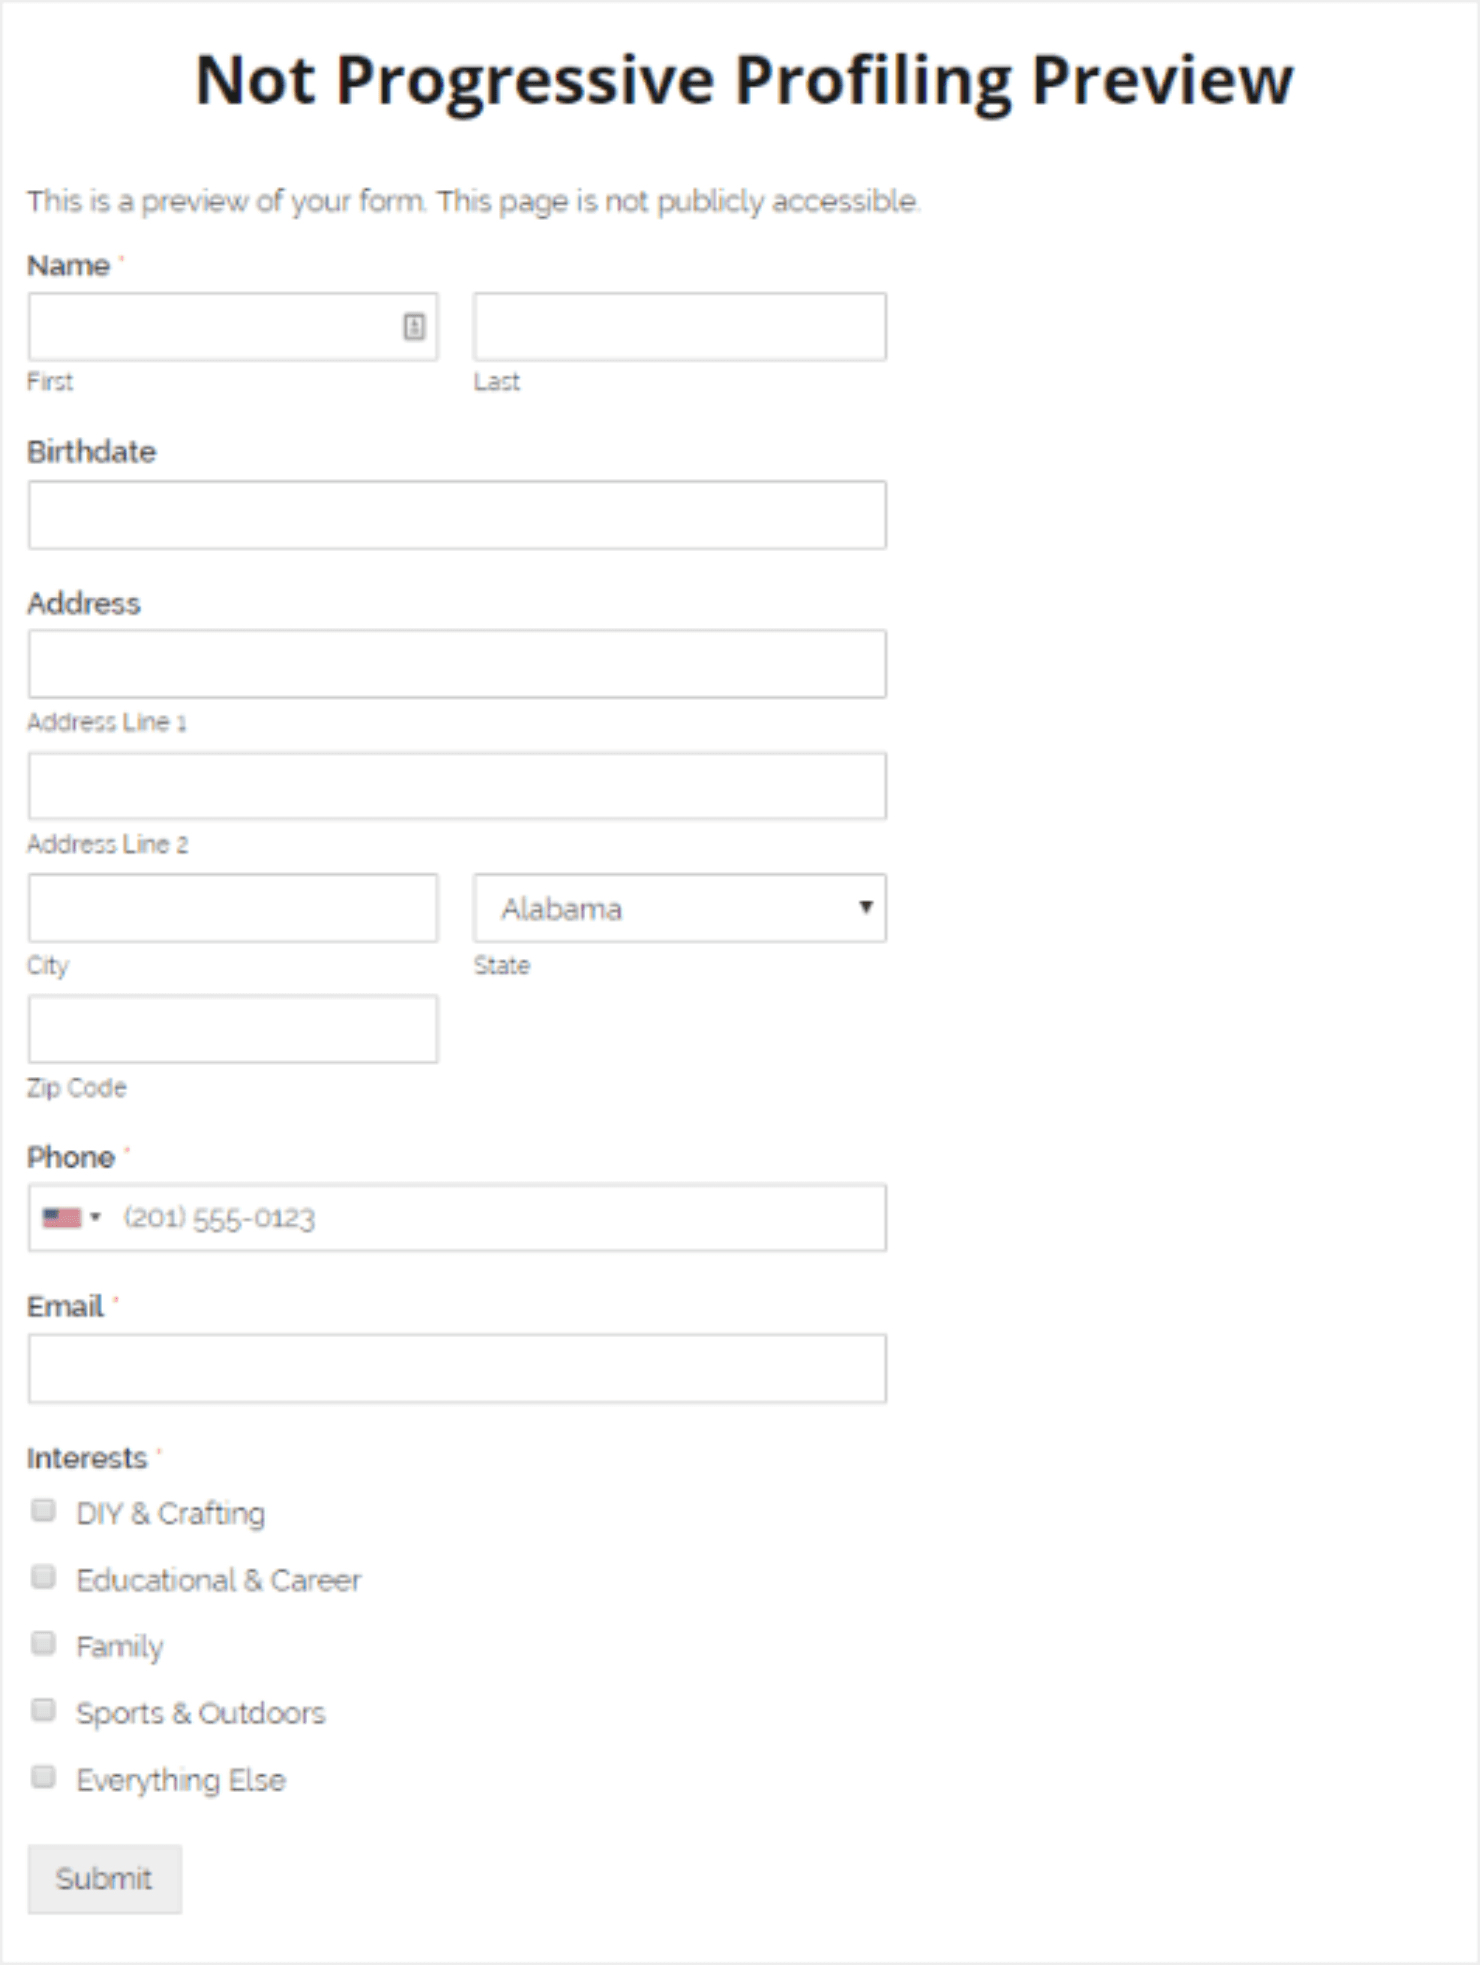
Just the mere sight of a long sign-up form like this is overwhelming for most people. Most of them would rather leave the site than fill out the form.
Now here’s an example of how the progressive profiling framework works:
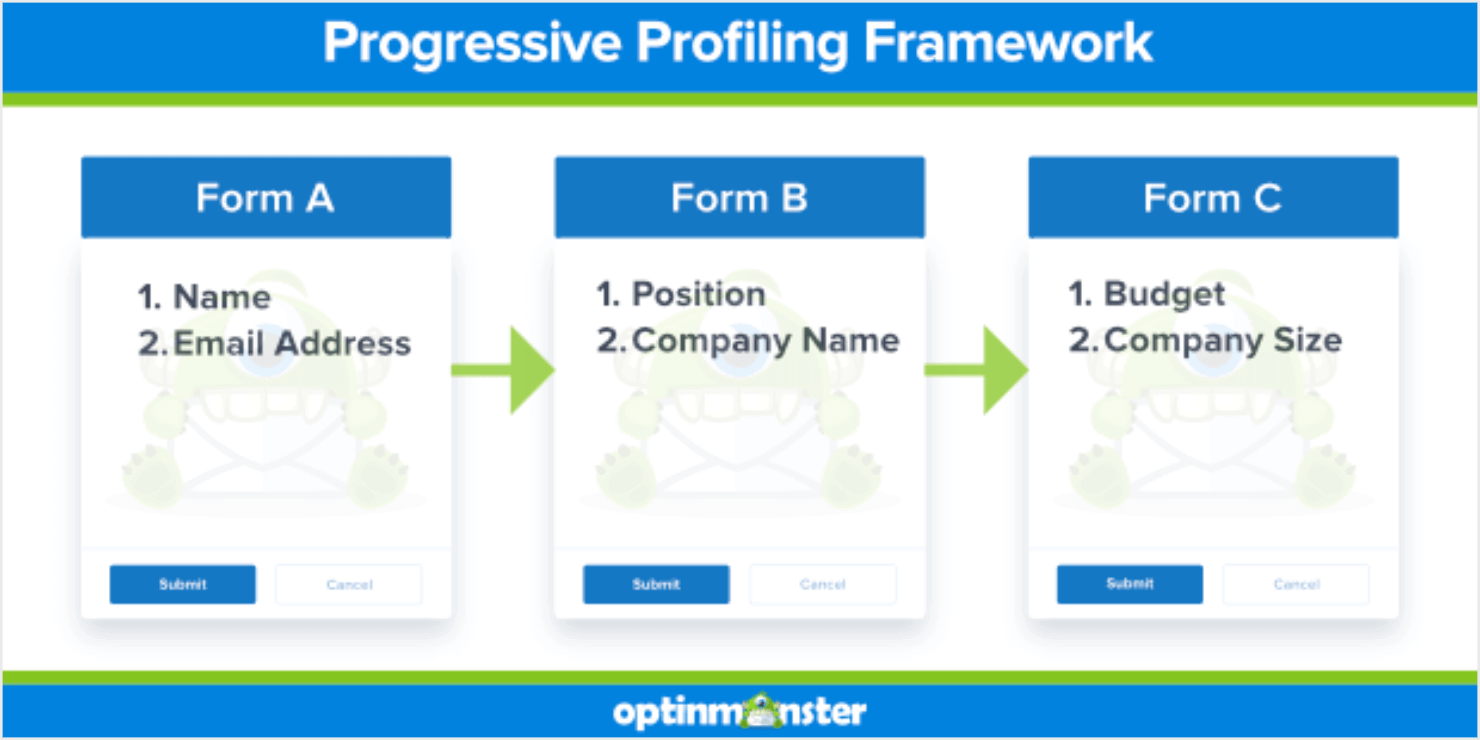
Progressive profiling makes sign-up forms short and easy to fill, easing people into the process of collecting important information one bit at a time.
Top 7 Benefits of Progressive Profiling
When you employ progressive profiling in your lead generation forms, you’ll have more people completing the form and converting. However, higher conversion rates are just one of the many benefits of progressive profiling.
Let’s look at more reasons why every serious eCommerce business should start using progressive lead profiling.
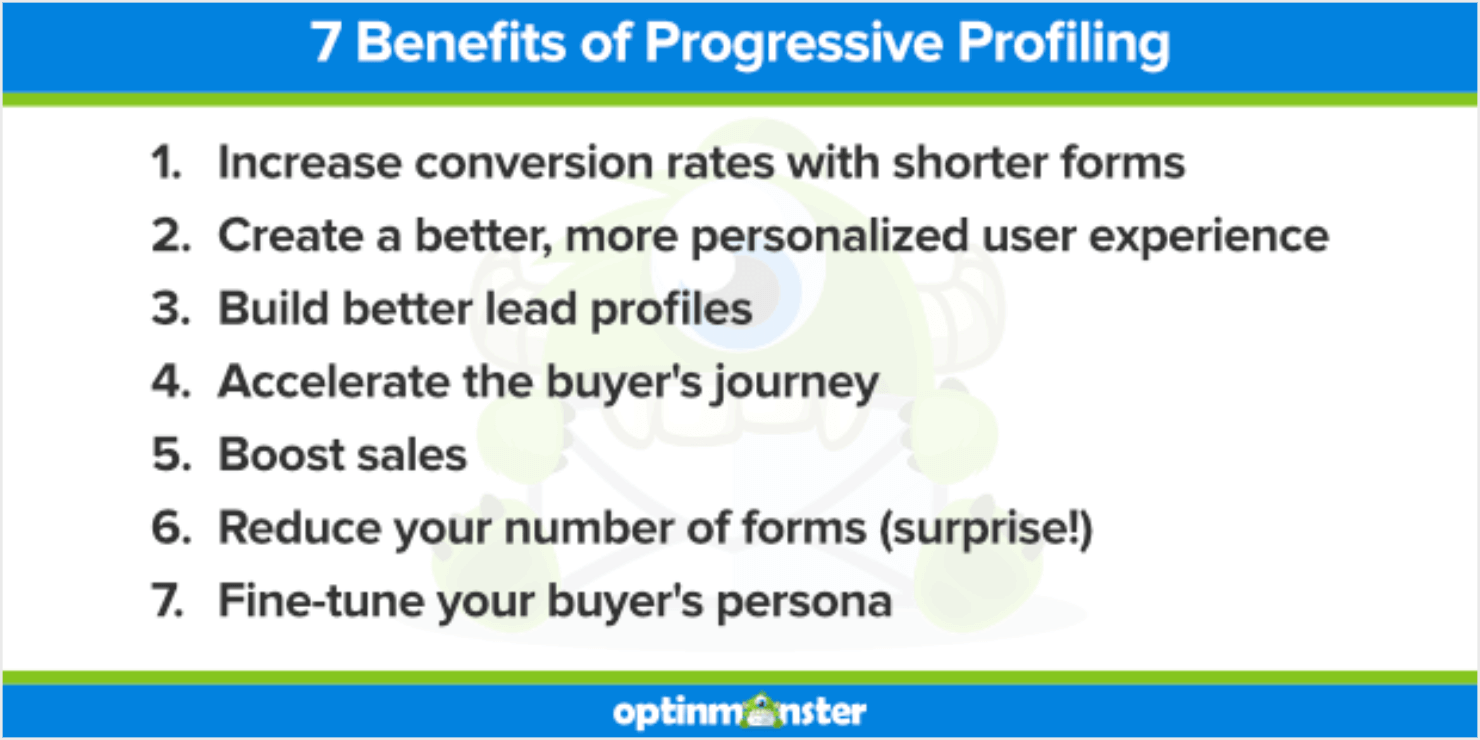
- Increase Conversion Rates
- Create a Personalized User Experience
- Build Better Lead Profiles
- Accelerate the Buyer’s Journey
- Boost Sales
- Reduce the Number of Forms
- Fine-Tune Your Buyer Personas
1. Increase Conversion Rates
Detailed lead profiles are great for helping you snag that sale but an overly thorough sign-up form will scare away potential leads.
With progressive profiling, you ensure that you ask for only the most critical data and save the rest for later. You may even choose to give your landing page the best chance at converting leads and only ask for an email address at first.
2. Create a Personalized User Experience
Why waste a lead’s time with repetitive questions when you can personalize your interactions with the information you already have?
With progressive profiling, you can hide form fields your leads have already filled out and use that space to get other information instead.
Your leads will appreciate the personalization and the shorter forms.
3. Build Better Lead Profiles
Progressive profiling allows you to build detailed customer profiles and improve the quality of leads.
For example, you can configure the form to show different form fields based on what or how people respond to the initial questions. This can help you segment your email list and send relevant messages to your subscribers later.
4. Accelerate The Buyer’s Journey
Since lead profiling helps you get more detailed data, you can personalize your marketing campaigns and gain trust.
You’ll be able to create messaging that meets your leads at the right time in the customer journey map and effectively move them further along the sales funnel.
It’s also easier to communicate more frequently with this level of personalization because you won’t just be marketing to your leads, you’ll be giving out value.
5. Boost Sales
Progressive profiling helps increase your company’s bottom line. With all the extra information you collect, you’ll know your leads better and can send them more targeted offers at the right time.
6. Reduce the Number of Forms
Another great thing about progressive profiling is that you don’t need to create one form for every different lead generation effort.
For instance, many of your lead magnets can use the same progressive profiling form since you are only going to need to collect the name and email address for this type of lead.
This way, you segment your leads based on personal data rather than lead magnet signups.
7. Fine-Tune Your Buyer Personas
Another surprising benefit of progressive profiling is that it helps you refine your buyer personas based on actual customer data instead of making educated guesses.
Think of all that data and how you can use it to create highly targeted marketing strategies with higher conversion rates for your ideal audience.
Next, let’s discuss how progressive profiling works to your advantage when you align it with the customer journey.
How To Create a Progressive Profiling Strategy That Works
To create an effective progressive profiling strategy, there are just 2 simple steps:
Step 1: Map Out The Buyer’s Journey
The 1st step of your progressive profiling strategy is to create an irresistible offer. Understanding your buyer’s journey and what they want to know before they convert is key to this.
After all, there’s no point in creating a lead magnet that no one is interested in downloading.
Here’s an interesting case study that proves this further. Inbound Marketing used OptinMonster and skyrocketed its conversions by 189% with lead magnets.
But let’s suppose that you already have a great lead magnet to offer. In such cases, you still need to offer them to the right people at the right time.
To make this process effective, you’ll need to consider a few important questions:
- What happens before a customer buys, how long does it take?
- What makes them buy?
- What are their preferences at every stage?
Coming up with answers to these questions will help you create a smooth progressive profiling strategy.
Step 2: Decide What To Ask and When
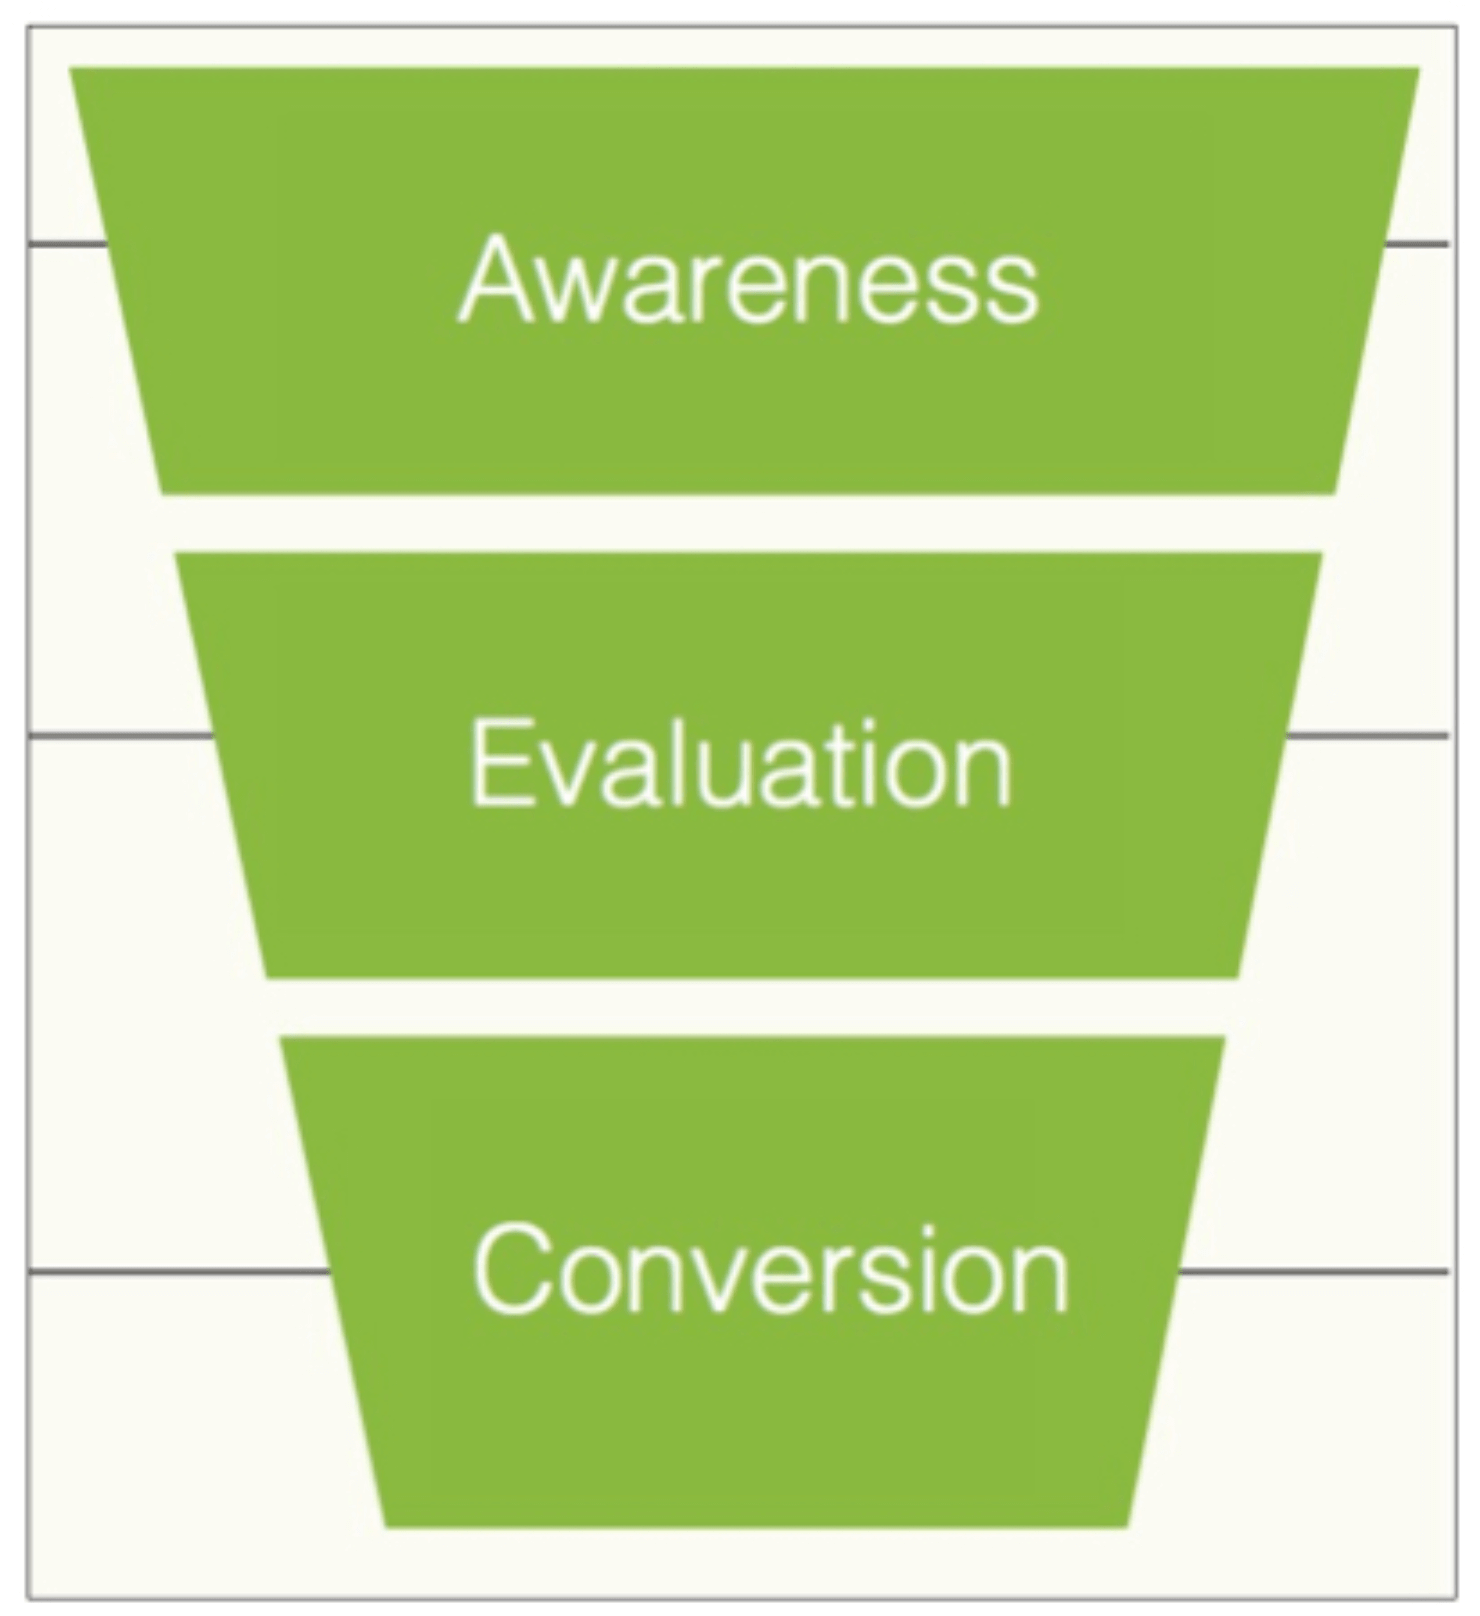
This is where you map out all the information you need to make your sales funnel effective. You’ll also need to decide what questions to ask customers across the 3 stages of the buyer’s journey:
- The Awareness Stage (Top of the Funnel)
- The Consideration Stage (Middle of the Funnel)
- The Decision Stage (Bottom of the Funnel)
For the 1st stage, most campaigns will start strong by asking for just a name and email address. That kind of demographic data is all you need from them during their first visit.
In the Consideration Stage, you’ll need to think about the information you need from leads to help them build trust in your brand as their solution.
At this point, your leads are doing a lot of comparison between your brand and your competitors. They are considering their options and trying to figure out which product or service is going to do the best job at solving their pain point.
Your job is to show them that the obvious solution is you. You can ask them about their potential use cases, how many people are there in their marketing team, or what functionalities they are looking for in a solution.
OptinMonster’s behavior tracking feature can help you get your message in front of leads based on the blogs they are reading and the pages they are visiting on your site. Doing this will help you run targeted marketing campaigns and ensure that your offers are relevant to the buyers.
Your lead generation forms should also get a bit more targeted, too. Now is the time to ask questions like ‘Job Title,’ ‘Industry,’ ‘Company Name,’ and ‘Budget to help educate them on their choices and fine-tune your messaging.
Finally, you have the Decision Stage. This is where you want to convince people to buy. If you are a consultant or make sales calls, asking for a phone number with customers at this point isn’t out of place.
Pro Tip: Keep GDPR rules in mind as you collect customer information. For the sake of data privacy laws, it’s best to let people know how you use the information you collect.
How To Implement Progressive User Profiling for Your Site
There are several ways to implement progressive customer profiling on your site. You can use progressive profiling in forms and email marketing too.
Some of the tools available to you include WPForms. Its Smart Conditional Logic feature allows you to create smart dynamic forms.
Here’s a short video showing how it works:
WPForms is our #1 pick for a form builder (we use it at OptinMonster). Feel free to check out our list of best form plugins for WordPress to evaluate other options.
Next, I’ll show you how to use WPForms with OptinMonster to create a popup that will help you apply the progressive profiling strategy on your site:
- Step 1: Create Your Campaign
- Step 2: Edit Your Campaign
- Step 3: Set Display Rules
- Step 4: Integrate With Your Email Service Provider
- Step 5: Save and Publish Your Campaign
Step 1: Create Your Campaign
First, you’ll need to sign up for OptinMonster. Once you are in, click on the Create New Campaign button from the dashboard:

Select the campaign type. I’ll go with Popup for this tutorial:

Next, choose a template. OptinMonster has over 100 templates to choose from:
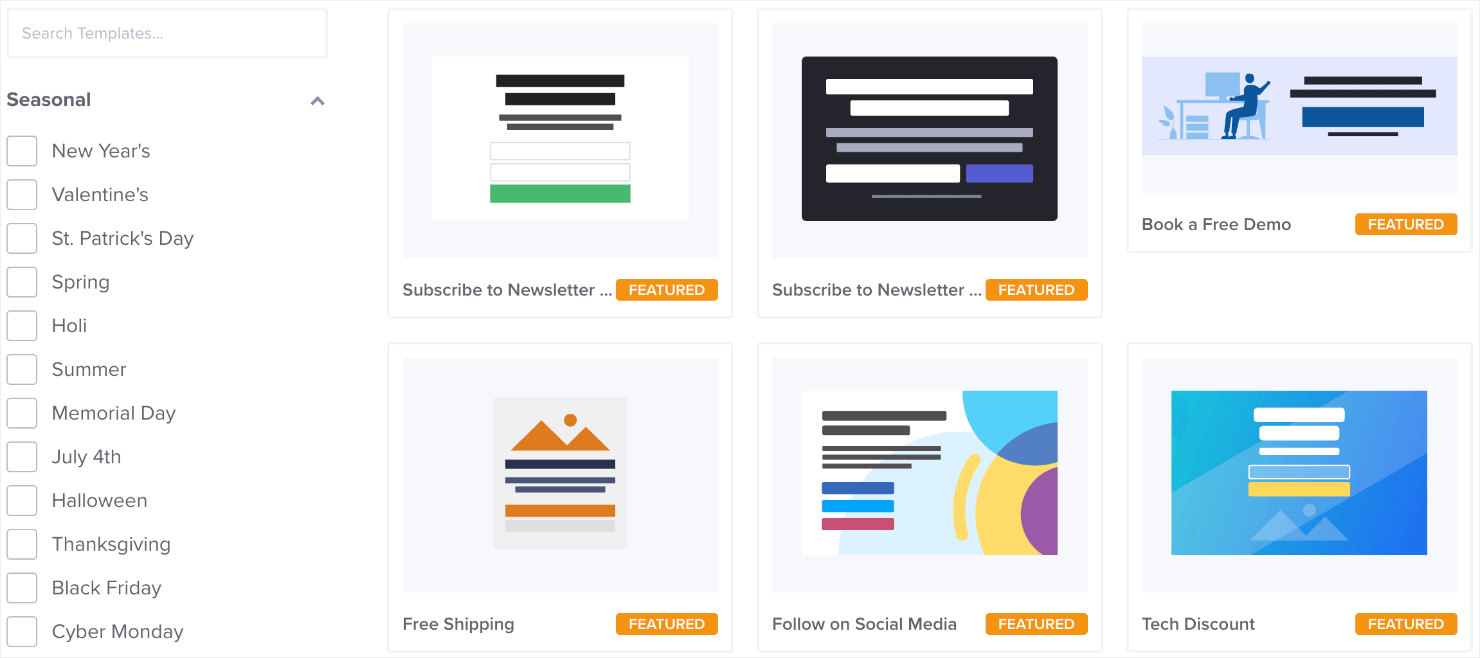
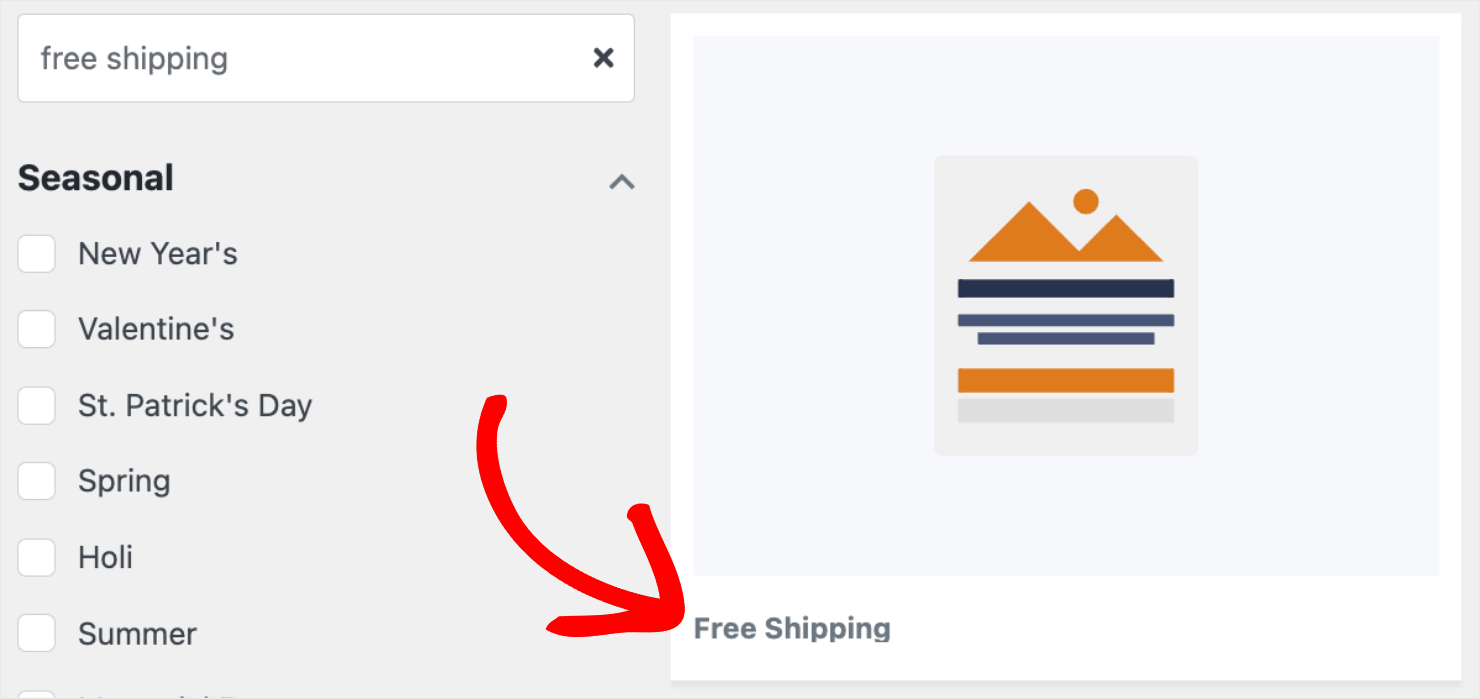
I’ll choose the Free Shipping template:
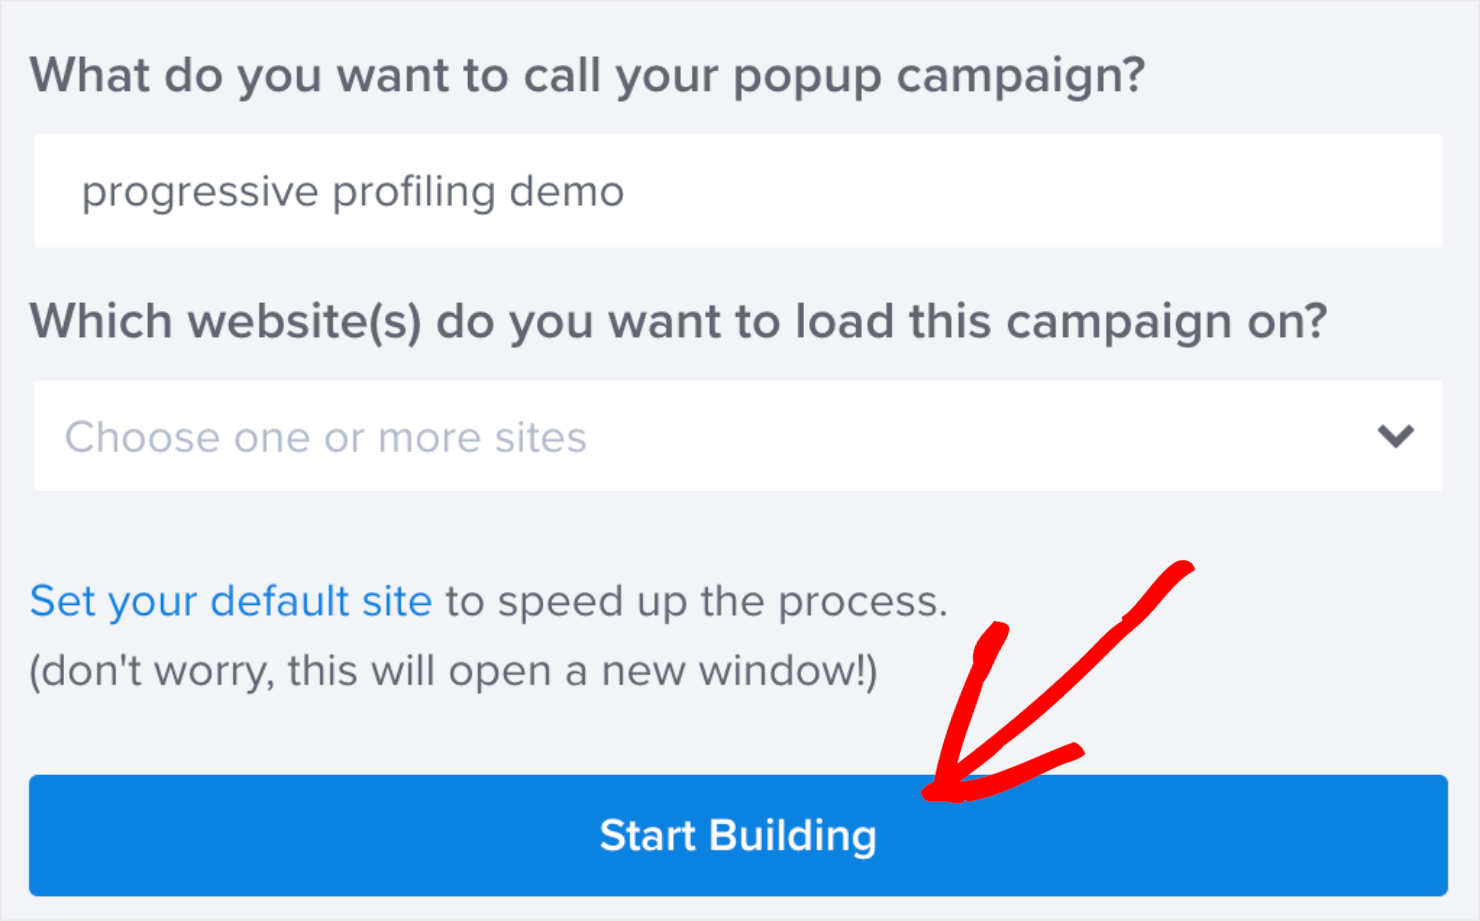
On the next screen, give your campaign your name, assign it to your website, and click on the Start Building button:
Step 2: Edit Your Campaign
This is how the default template looks like right now on your campaign builder:
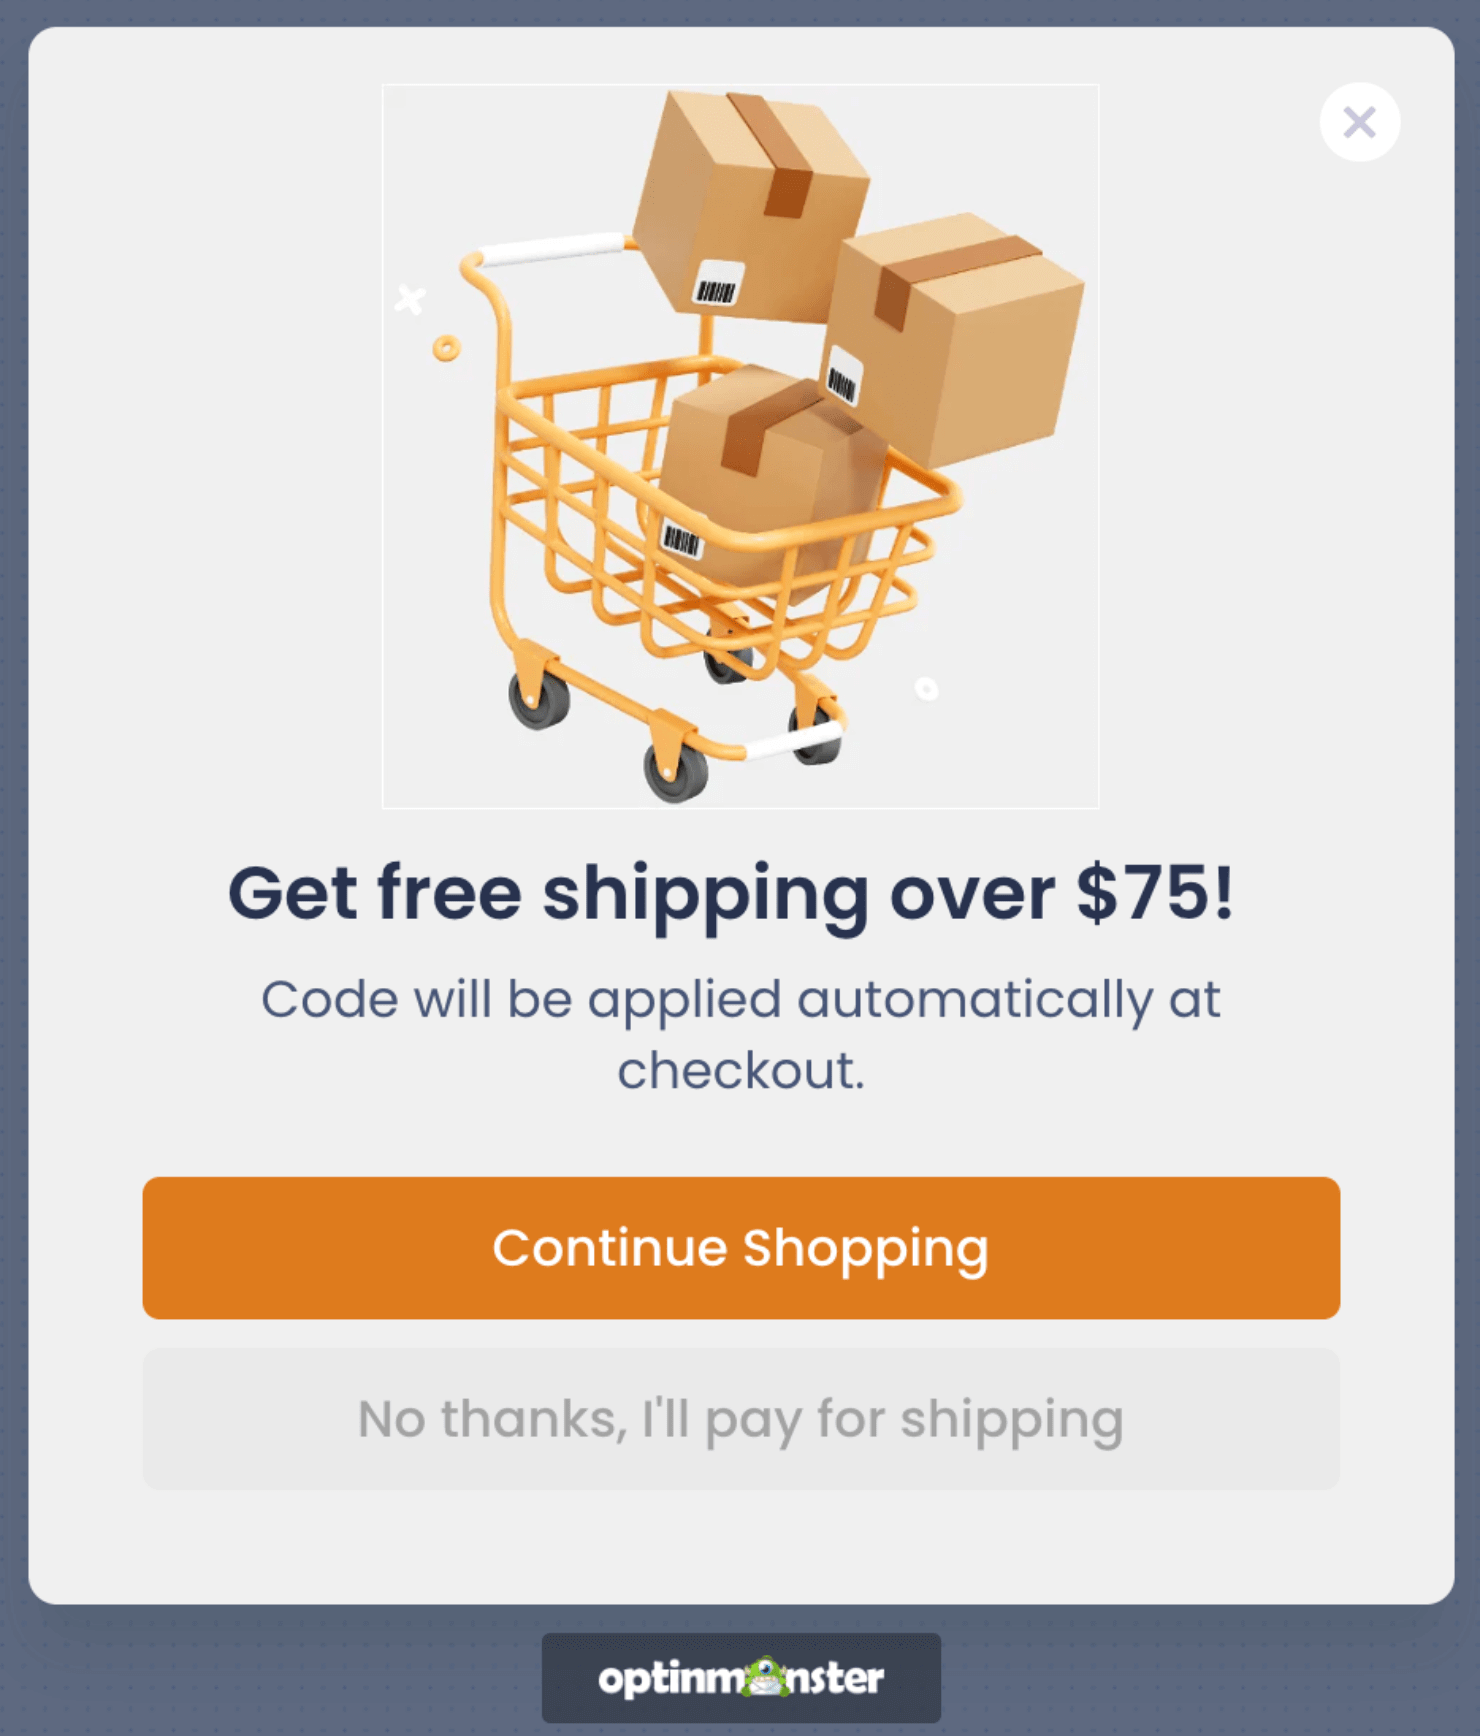
You can customize the campaign in a hundred different ways.
I won’t get into great detail about how to design your campaign because there are just too many customization options to choose from.
If this is your first time working with OptinMonster, I suggest watching this video:
Editing your popup is easy with our drag-and-drop builder even if you have never done it before.
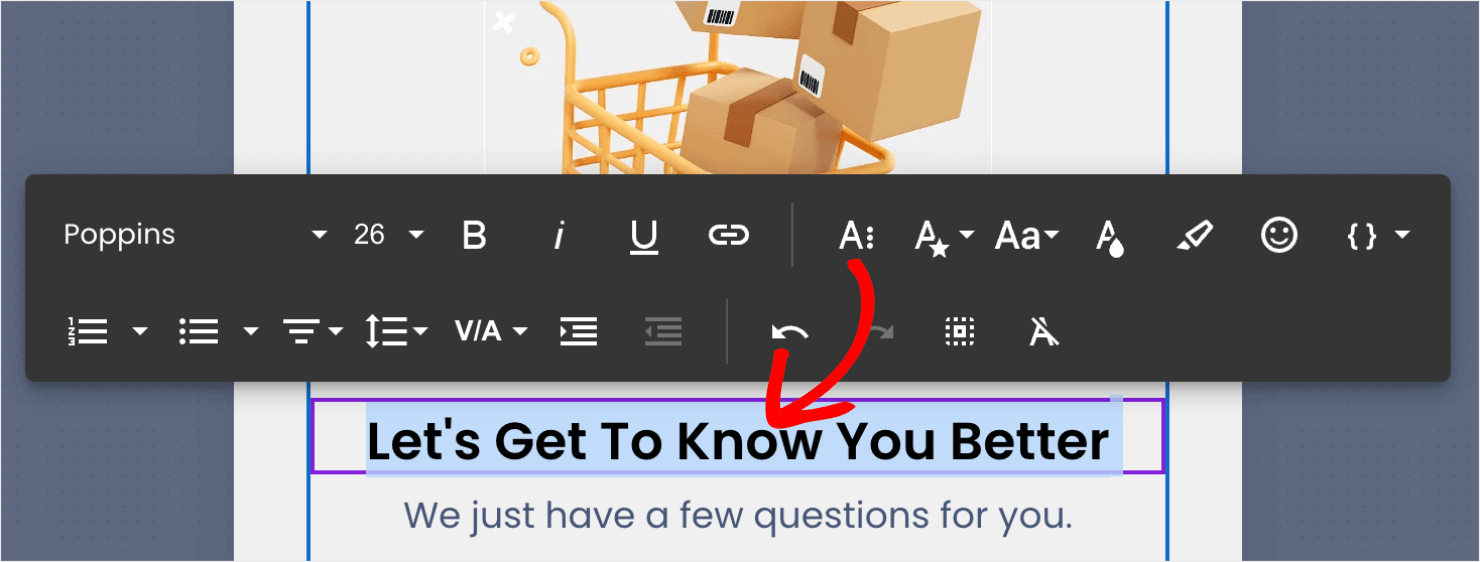
You can change any element of your campaign by clicking on it in the editor. Then you can use the editing tools that appear on the left-hand side menu to add, delete, or edit different elements on your campaign.
To change the header copy, for example, just click on the text in the image and edit the text directly in the editor:
You can also change the image by clicking on it and using the editing options on the left-hand menu panel:
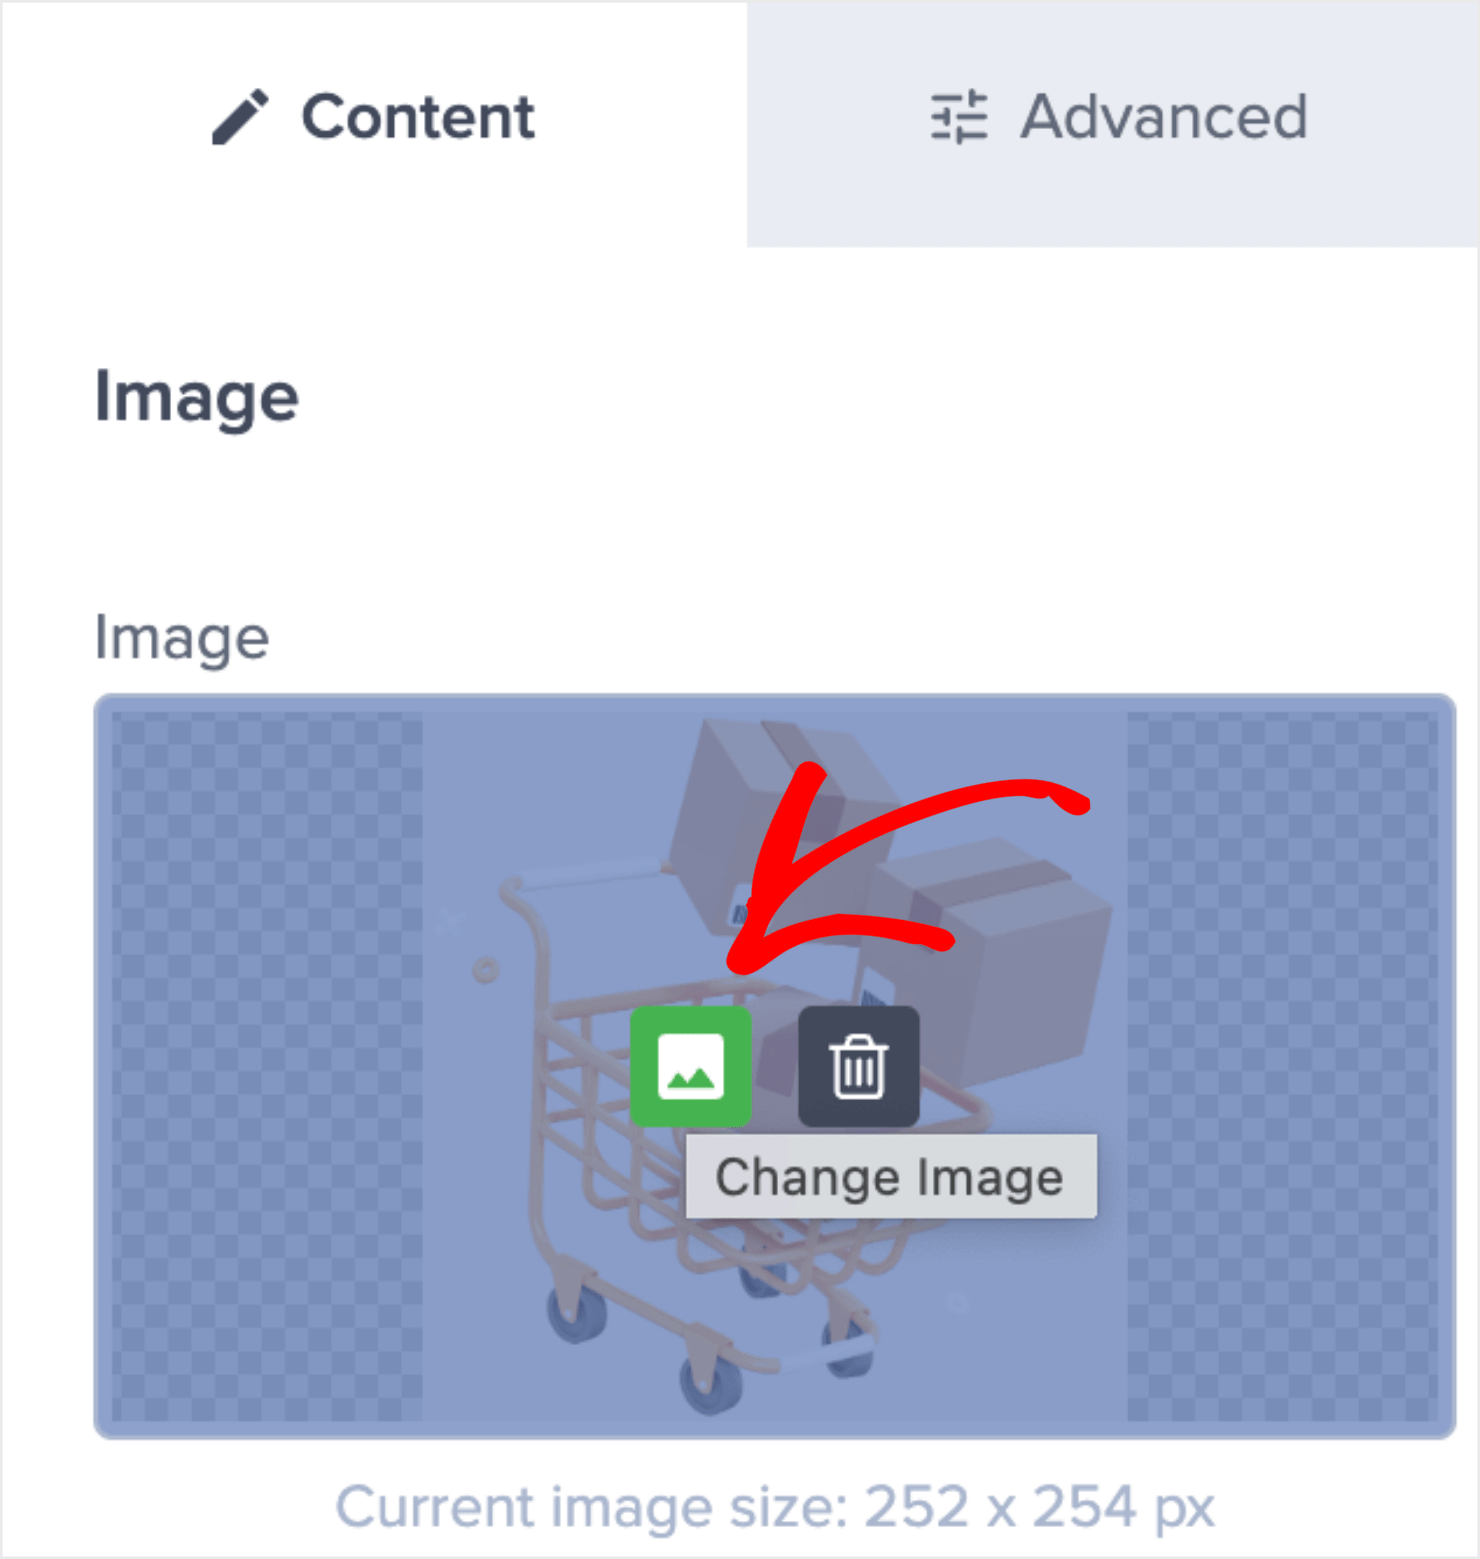
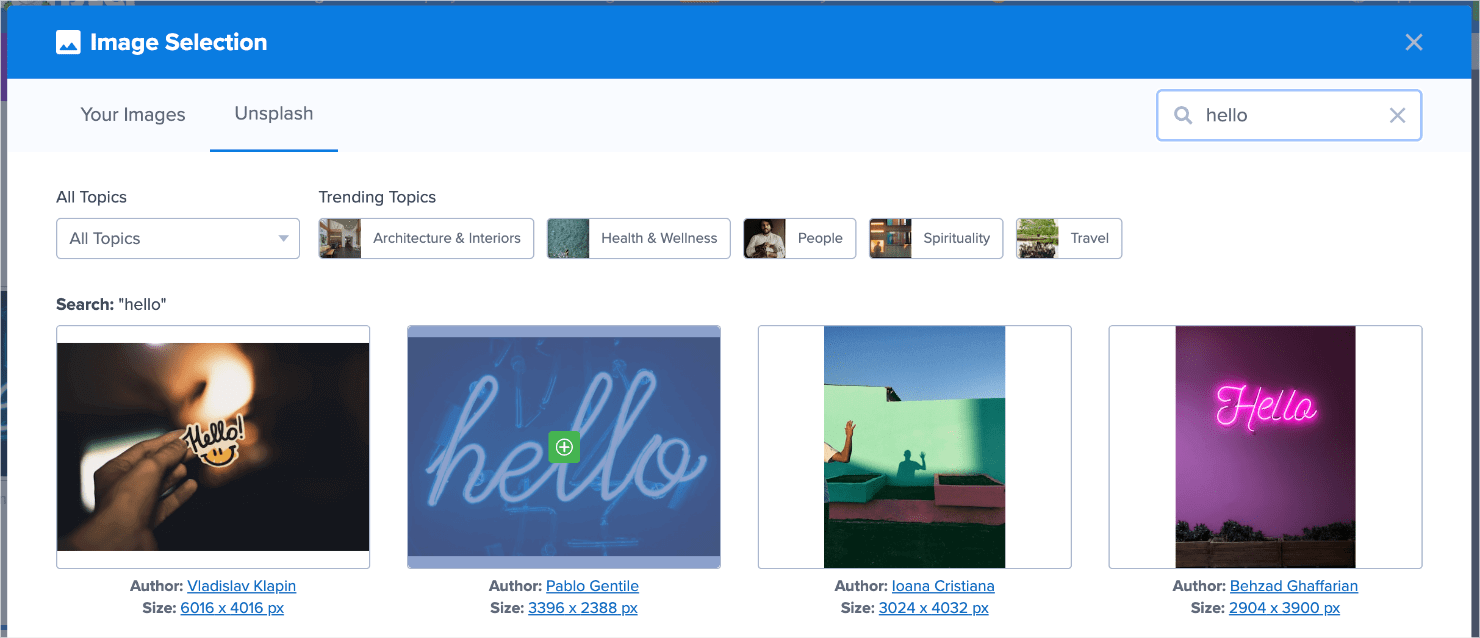
Here, you can upload a new image, use one from a previous campaign, or browse free images from the Unsplash image library.
For this tutorial, I’ll choose an image from Unsplash:
Finally, if you want to add anything to your popup campaign, you can do that, too. Just go to the left-hand menu panel and look for the right elements in the search box under Blocks:
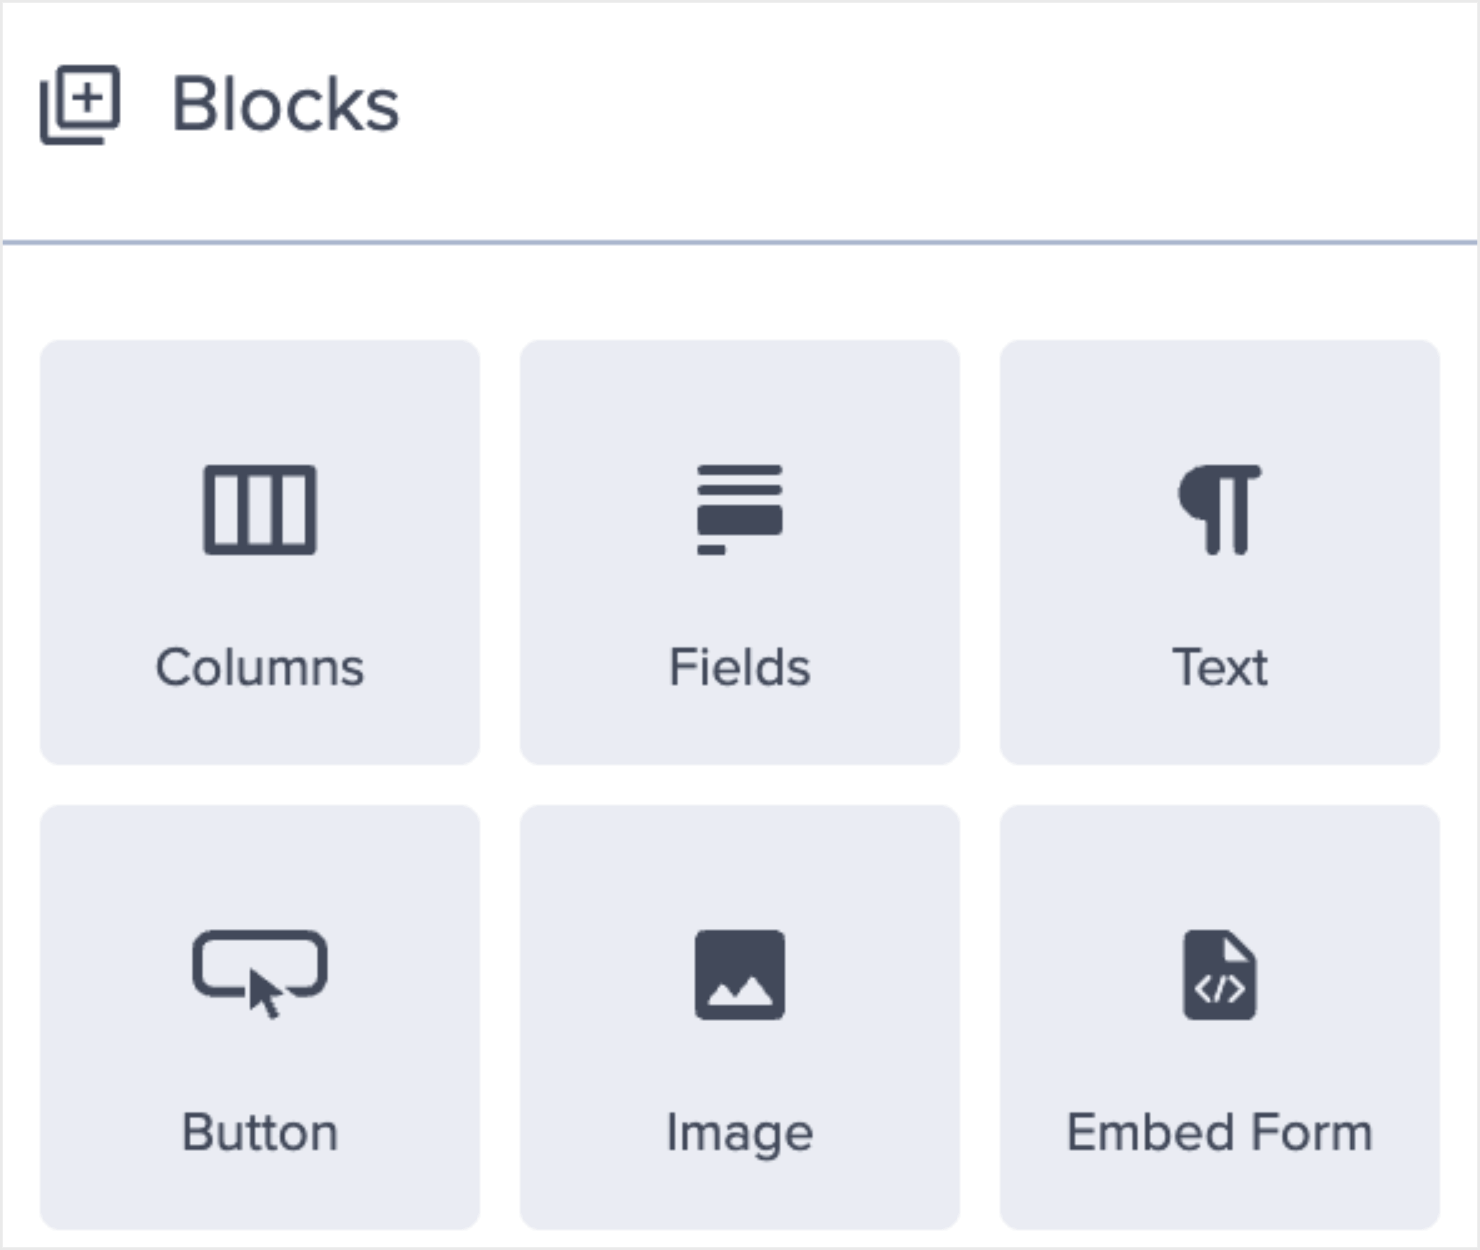
You’ll see many options that you can add to your popup campaign, such as:
- Button
- ChatBot
- Countdown Timer
- Divider
- Text
- Image
- Video
To move these blocks into your campaign, drag and drop them on the editor.
I’ll drag the WPForms block to the editor so that it’s easy for leads to enter their information directly in the popup:

For more information on how to create custom forms, read our guide on How to Create a Popup Form With WPForms.
Here’s the simple design I created for the progressive profiling campaign:
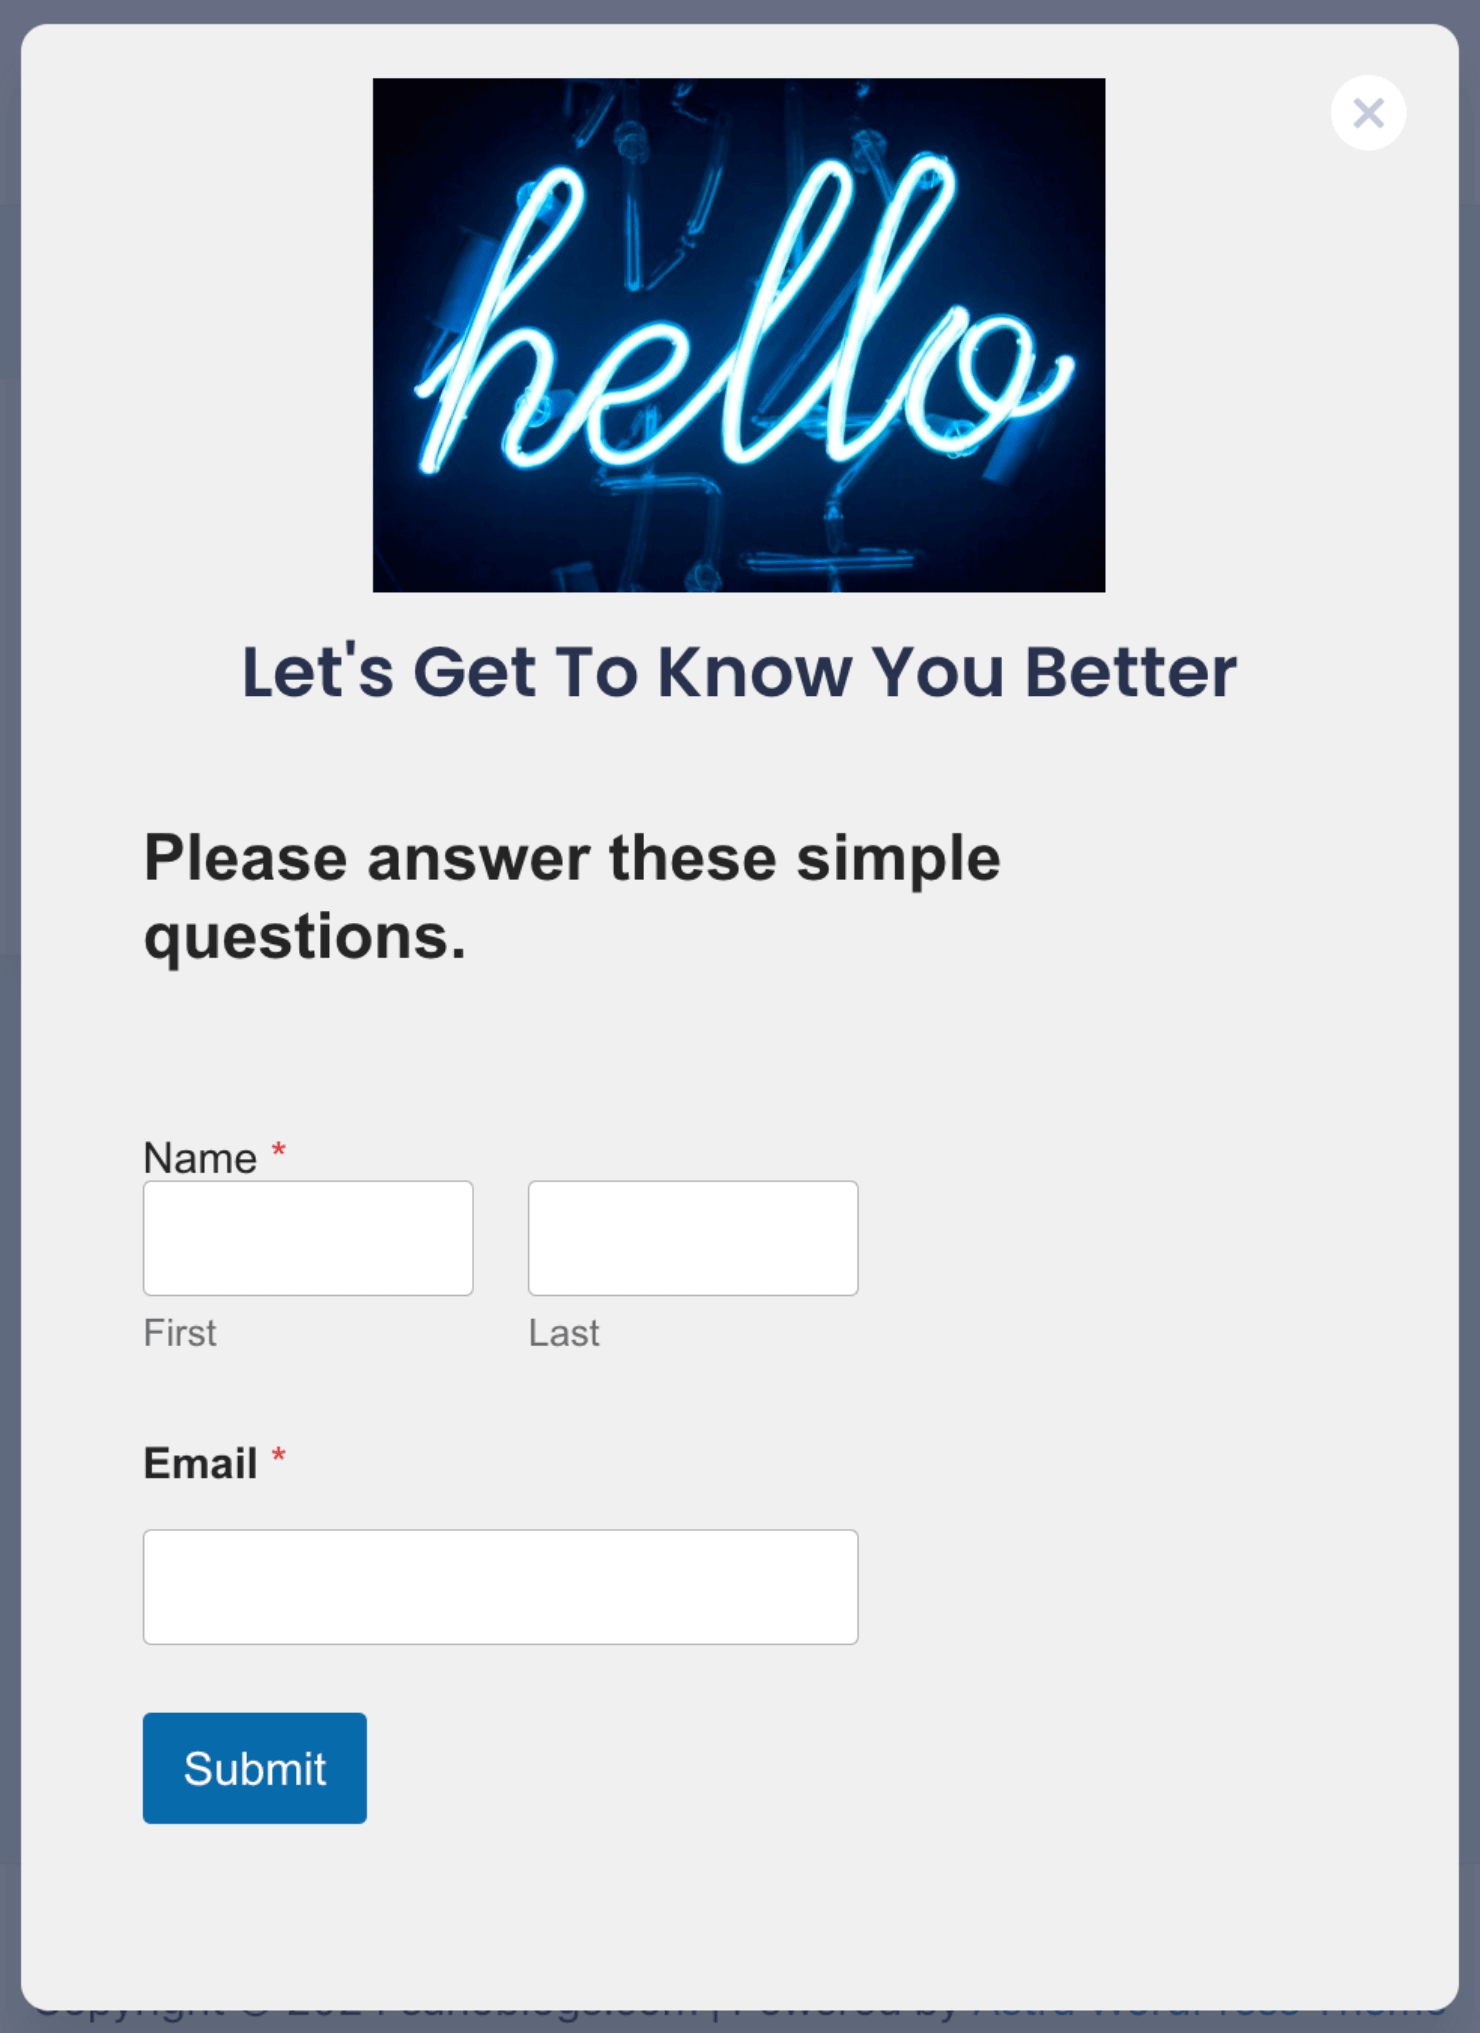
It took me less than 5 minutes to design this popup!
Next, I’ll show you how you can use OptinMonster’s targeting features to control where and when to show the popup campaign.
Step 3: Set Display Rules
There are many ways you can choose to display your progressive profiling campaign. OptinMonster has a ton of targets and trigger options to make sure you are reaching the right audience at the right time.
Today, I’ll show you can use page-level targeting to trigger popups based on specific visitor behavior.
To do that, go to the Display Rules tab:

Click on the time on page option to get the dropdown menu. Select Where from the dropdown menu and select Page Targeting:

Select the current URL path rule and pair it with exactly matches. Enter the URL of the landing page you want the campaign to appear on:

For our use case, it’s better to enter the URL of pages that newly converted customers mostly visit.
For example, let’s suppose that you have a blog comparing your product with a competition that is targeted specifically for new leads evaluating your product.
In such cases, you can target that blog page to persuade new customers to complete a form:

This targeting option will show the popup to the right visitors, increasing the chances of them sharing the information that you are seeking.
Step 4: Integrate With Your Email Service Provider
OptinMonster has over 30 native integrations with the most popular email service providers (ESPs) on the market:
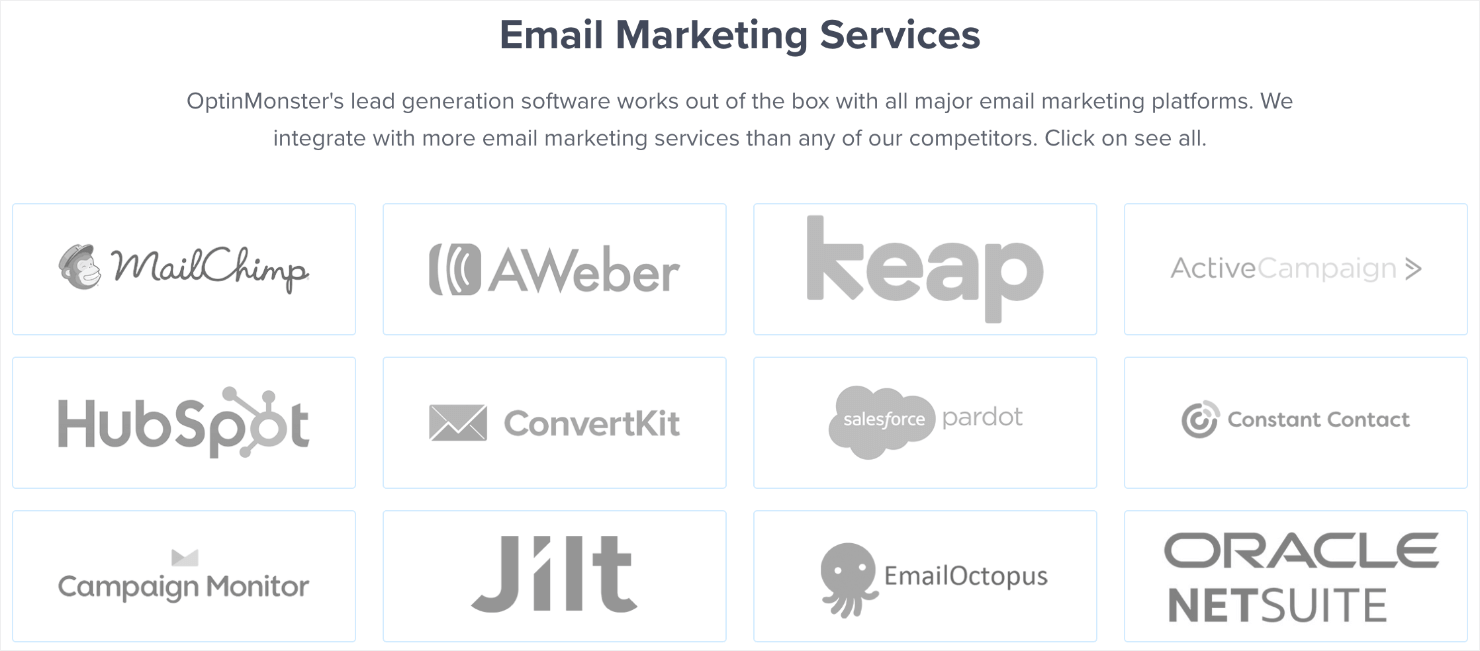
Here’s how to integrate your OptinMonster campaigns with an ESP. Go to the Integrations tab at the top:

Type the name of your email service provider or scroll through the page to find it manually. I’ll choose Constant Contact since that’s the ESP I use for my website:
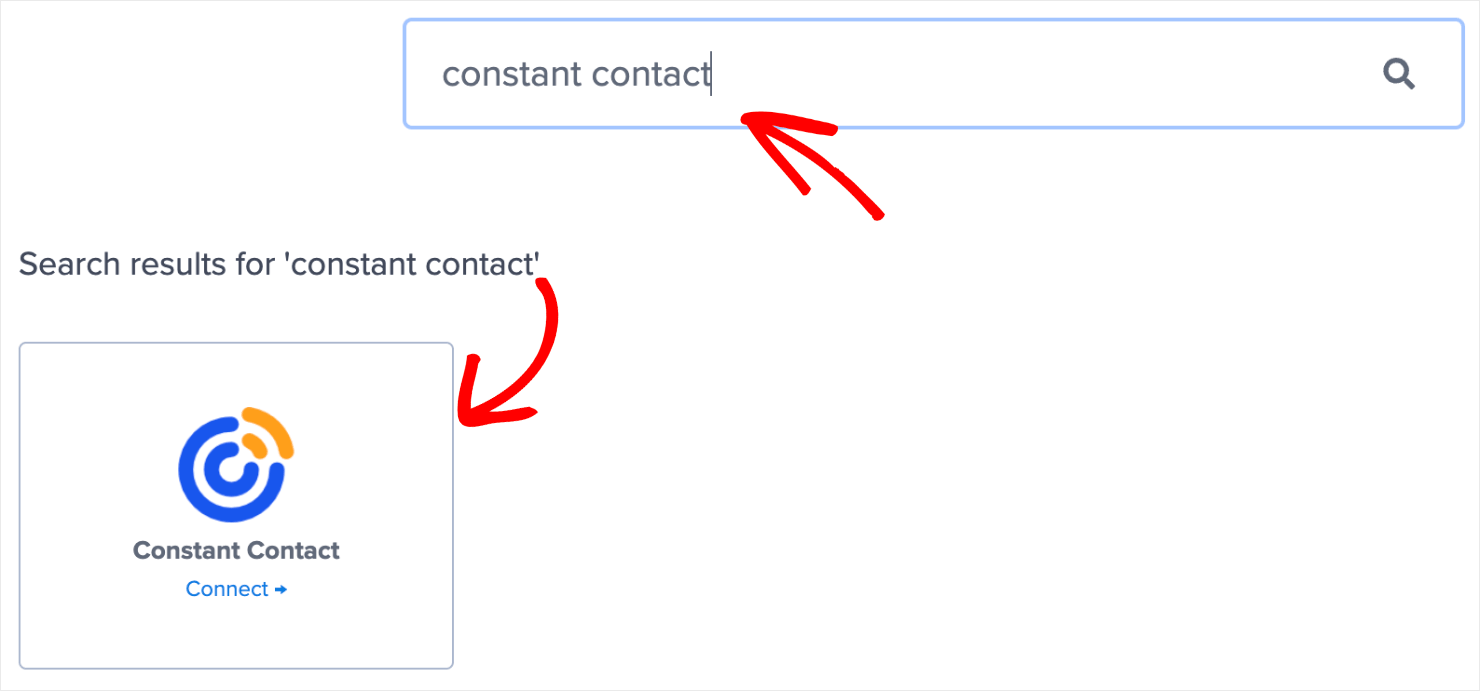
From there on, the exact steps to connect OptinMonster with your ESP depend on which email marketing automation software you are using. For the most part, it involves copy-pasting your email account’s API key.
For more specific instructions, read our detailed guide on How To Connect to an Email Service Provider.
Pro-tip: Don’t see your ESP listed? You can get started with Monster Leads. Monster Leads is OptinMonster’s internal lead storage tool. It lets you store your lead data, export it, and send individual emails from your existing email client.
Step 5: Save and Publish Your Campaign
Click on the Save button at the top-right of your screen to make sure you don’t lose the changes you have made so far:

Next, go to the Publish tab:

Under the Publish Status section, click on Publish:

And that’s done!
Here’s how the popup looks on the live site:

For higher conversions, you can use this method in combination with OptinMonster’s smart features like Smart Tags and Smart Success.
Smart Tags allow you to easily personalize your website with dynamic smart content for higher engagement and conversions.
Similarly, Smart Success is OptinMonster’s smart subscriber recognition feature. It enables you to boost engagement, reach, and sales by making new offers to people who have already opted in.
You can repeat the steps mentioned above to create follow-up campaigns as part of your progressive profiling process.
3 Progressive Profiling Best Practices to Keep in Mind
If you want your progressive profiling efforts to yield the best results, here are some best practices to apply:
- Ask Only What Is Important, in Order of Importance
- Time Your Requests Strategically
- Optimize Your Campaigns Routinely
1. Ask Only What Is Important, in Order of Importance
While it’s tempting to ask every single question to fatten up your data bank, it’s best to stick to only what you need. And even then, it’s still best to ask for what you need most first!
Of course, you’ll want a lead to give you their email address or other basic information for the first time around. This way, you can reach them again as part of your email marketing.
2. Time Your Requests Strategically
Each time your lead gives you information about themselves, they are making a small commitment to your relationship. So if you try to ask for too much commitment too soon, you risk ruining that relationship.
Don’t just prioritize what’s important to you. Also, consider what’s important for your buyers.
A best practice is to set up your campaign that aligns with the buyer’s journey rather than ask questions that serve you the most.
3. Optimize Your Campaigns Routinely
As you start getting more leads, you might notice places where leads drop off or where you are getting higher engagement. Use that data to optimize your buyer personas, your buyer’s journey, and your progressive profiling campaigns.
That’s all you need to start generating better leads with progressive profiling!
Get Started With Progressive Profiling Today!
Progressive profiling helps you collect useful data on your leads without overwhelming them.
While this data is useful for closing more sales, remember to use progressive profiling to build a better customer experience for your leads.
Only ask what’s truly important, personalize your marketing using OptinMonster’s smart personalization features, and always meet them with the right questions at the right time in their buyer’s journey!
If you liked this post, you might also enjoy the following articles:
- How to Create a Customer Journey Map and Convert More
- Email Automation: 29 BestEmail Marketing Automation Tools
- 2-Step Optin Popups: Why They Work and How to Make Them
Did you know that OptinMonster is the #1 conversion optimization software in the world? That means that we help you turn your website traffic into real people who sign up for your email list and buy the things you sell.
Get started with OptinMonster today!



Add a Comment